
This is the time i can't stop smiling, it was like getting laid for the 1st time.*grins*. This time, morpheuse show how me the process of traditional black and white print at The Clubhouse Darkroom , Bandar Utama, with a fellow photog Lordmint, we came to his darkroom to view this awesome stuff that we never seen before. For those who doesn't have a clue about the traditional black & white printing, this is what I'm bitchin about...
A darkroom is a room that can be made completely dark to allow the processing of light sensitive photographic materials, including photographic film and photographic paper. Darkrooms have been created and used since the inception of photography in the early 1800s. Darkrooms have many various manifestations, from the elaborate space used by Ansel Adams to a retooled ambulance wagon used by Timothy H. O'Sullivan. From the initial development to the creation of prints, the darkroom process allows complete control over the medium.
During exposure, values in the image can be adjusted, most often by "dodging" (reducing the amount of light to a specific area of an image by selectively blocking light to it for part or all of the exposure time) and/or "burning" (giving additional exposure to specific area of an image by exposing only it while blocking light to the rest). Filters, usually thin pieces of colored plastic, can be used to increase or decrease an image's contrast (the difference between dark tones and light tones). After exposure, the photographic printing paper (which still appears blank) is ready to be processed.
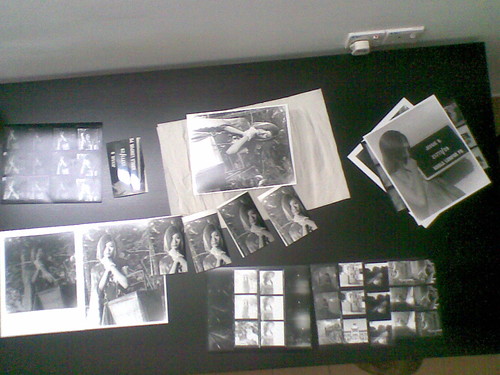
Photographers generally begin printing a roll of film by making a contact print of their negatives to use as a quick reference to decide which images to enlarge. Some large format photographers, such as Edward Weston, make only contact prints of their large (4x5", 5x7", 8x10" or larger) negatives.
The paper that has been exposed is processed, first by immersion in a photographic developer, halting development with a stop bath, and fixing in a photographic fixer. The print in then washed to remove the processing chemicals and dried. There are a variety of other, additional steps a photographer may take, such as toning.
The process consists of few steps, performed in a photographic darkroom or within an automated photo printing machine. These steps are:
i. Exposure of the image onto the sensitized paper using a contact printer or enlarger;
ii. Processing of the latent image using the following chemical process:
iii. Development of the exposed image reduces the silver halide in the latent image to metallic silver;
iv. Stopping development by neutralising, diluting or removing the developing chemicals;
v).Fixing the image by dissolving undeveloped silver halide from the light-sensitive emulsion:
vi) Washing thoroughly to remove processing chemicals protects the finished print from fading and deterioration.
Optionally, after fixing, the print is treated with a hypo clearing agent to ensure complete removal of the fixer, which would otherwise compromise the long term stability of the image. Prints can be chemically toned or hand coloured after processing.
(source: wiki)
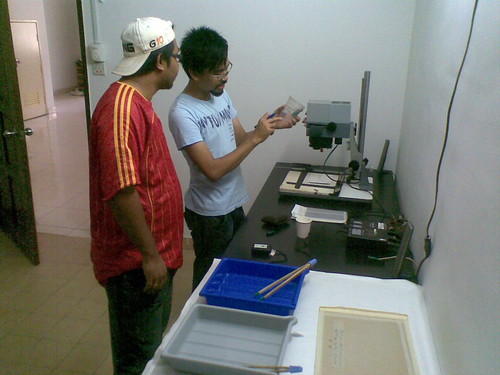
some chemicals explanation
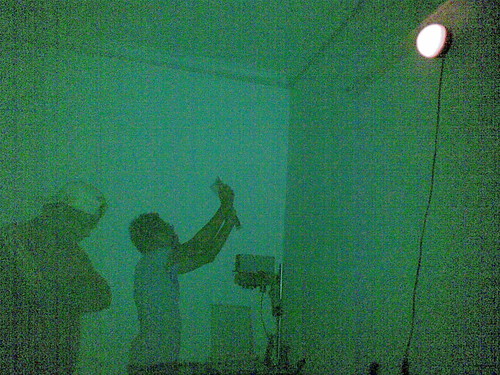
it's dark in the darkroom... douhhhh!!!!
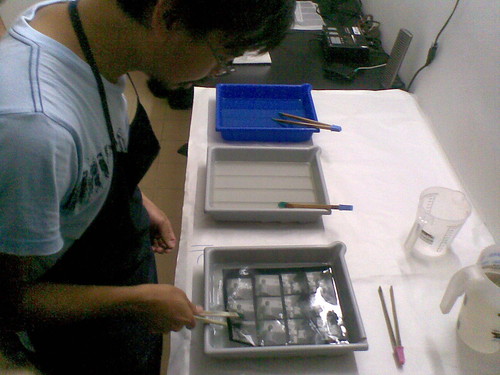
contact print soak in the fixer
soak in water to remove the chemicals
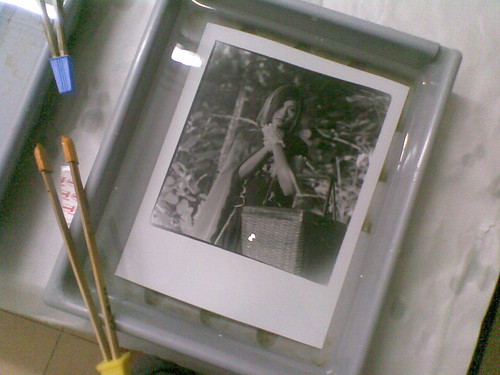
this is the workflow to choose the correct tone
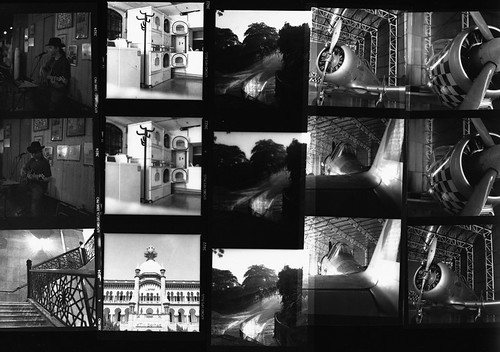
my first contact print...ngehhehee...
0 comments:
Post a Comment